Download & Install IndiaFont on Mac
IndiaFont V5 fully supports macOS. Follow this guide to install it on your Mac.
System Requirements
| Requirement | Minimum | Recommended |
|---|---|---|
| OS | macOS 10.14 Mojave | macOS 12 Monterey or later |
| Processor | Intel Core i5 | Apple Silicon M1/M2 |
| RAM | 4 GB | 8 GB or more |
| Storage | 500 MB free space | 1 GB free space |
Note: IndiaFont runs natively on both Intel and Apple Silicon Macs.
Download Steps
- 1.Visit indiafont.com/download
- 2.Click the Download for Mac button
- 3.Wait for the .dmg file to download
Installation Steps
Step 1: Open the DMG File
Double-click the downloaded .dmg file to mount it.
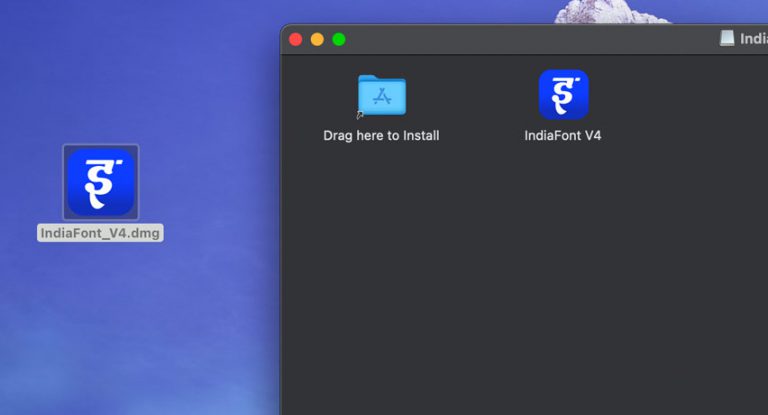
Step 2: Drag to Applications
Drag the IndiaFont icon to the Applications folder.

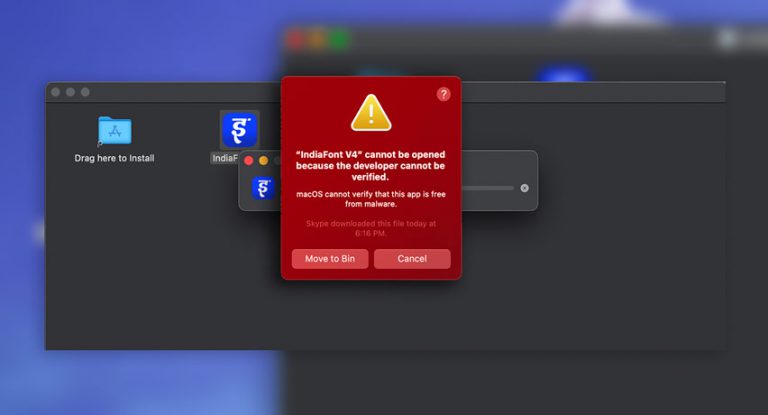
Step 3: Handle Security Warning
When you first open IndiaFont, you may see a security warning that the app cannot be verified.
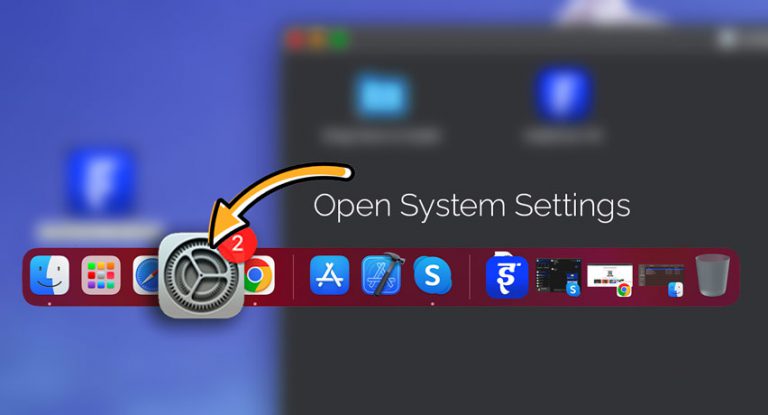
Step 4: Open System Settings
Click the Apple menu and open System Settings (or System Preferences on older macOS).
Step 5: Go to Privacy & Security
Navigate to Privacy & Security in the sidebar.
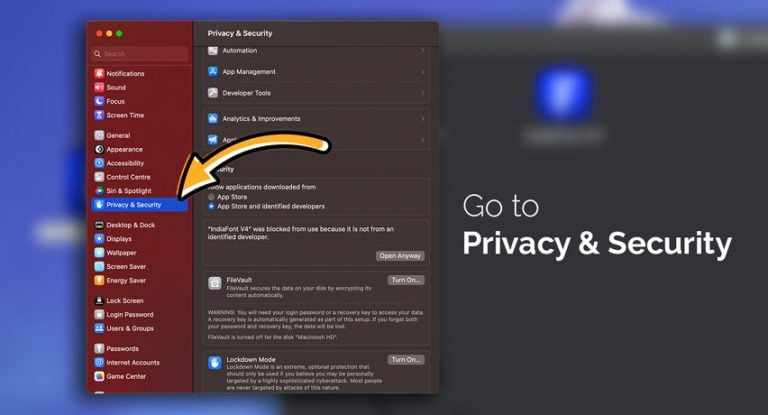
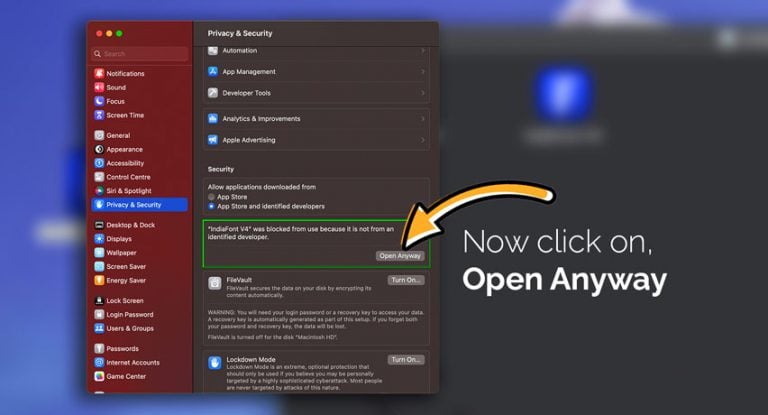
Step 6: Click Open Anyway
Scroll down and click Open Anyway next to the IndiaFont message.
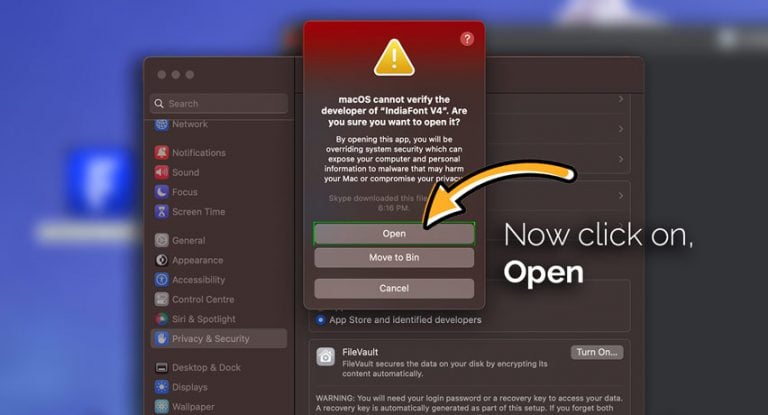
Step 7: Confirm Opening
You'll see another verification dialog. Click Open to confirm.
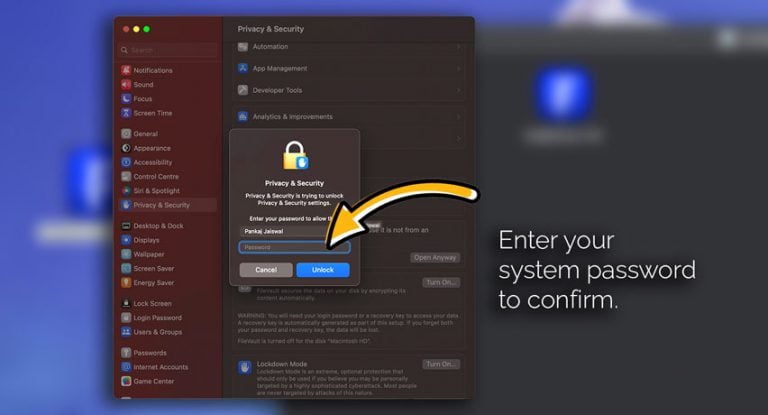
Step 8: Enter System Password
Enter your Mac password to allow the app to open.
First Launch
- 1.Login with your account or start free trial
- 2.Grant necessary permissions when prompted
- 3.Wait for font assets to download
- 4.Start creating!
After installation, browse our 320+ fonts and follow the create your first calligraphy tutorial to design your first project.
Need help? Contact Support